Measuring Pressure Changes With a Spoiler: Part 2


When I first figured out that guessing at aerodynamic changes is stupid and that I could test things and learn how modifications to my car actually affect the air flowing around it, one of the first devices I tested was a lip spoiler. This spoiler was a strip tape-type, which are cheap and easy to install on any car. Despite being less than an inch tall, the lip spoiler increased pressures over the rear window and roof by as much as 30 Pa—a substantial change for something I thought would have little to no effect!


Fast forward two years and the spoiler has reached the end of its life: I discovered on a recent trip that the tape had begun to fail and the spoiler was coming loose.
 
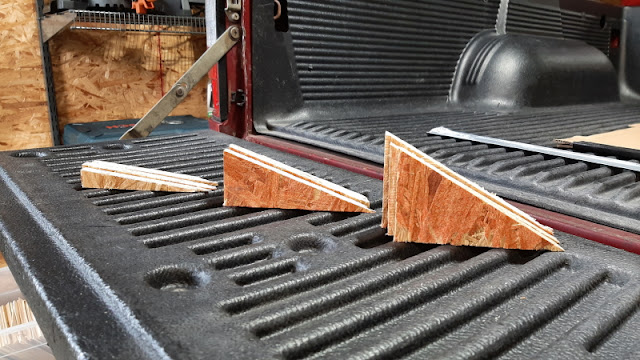
Since the lip spoiler would have to be removed anyway, I decided to use this as an opportunity to conduct some more investigations into the behavior of a spoiler on my car. I made a cardboard spoiler in the shape of the stock spoiler and cut out some angled spacers at 10°, 20°, and 30°:

I got a miter saw last year, so now I look for any excuse to use it.

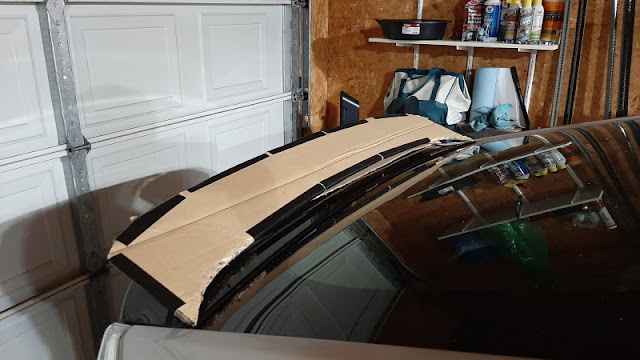
To facilitate quick changes, I taped the spacers to cardboard strips so the whole thing could be swapped out in little time:


It’s always a good idea to streamline things as much as you can before you go out and test. Since weather, temperature, and wind can change pretty quickly, minimizing the time a test takes will help you get better and more trustworthy results. Even if conditions are stable, you don’t want to waste time you don’t need to; this test involved two runs (one in each direction) measuring pressures at 4 locations, in 7 configurations—that’s 56 one-mile runs! As it was, this took nearly 4 hours to complete, and if I had been fiddling with the placement of individual spacers during the test it would have taken even longer.

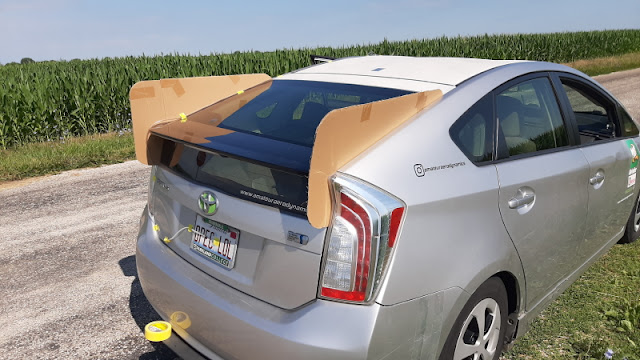
Look kids, it's nature's wind tunnel!

In addition to the spoiler, I tested a pair of longitudinal fins along the hatch window. I had previously measured pressures with just the fins in place:


These turned out to have basically no effect on base pressure—the pressure on the vertical part of the trunk and bumper cover, or base—but decreased pressure on the rear window by around 30 Pa, which means the air over the window moved faster. The fins may have been channeling air between them, accelerating it over the window. What would they do if I changed the angle of the spoiler?
 
To find out, I measured base and window pressures at the center and edge of each surface, first on the bare trunk, then with a spoiler, and finally with a spoiler and fins.


Here’s the plot of gauge or differential pressure—that is, the difference between pressure at a spot on the body and atmospheric pressure from a pitot tube at the front of the car:


I’ll write more in a future post about the unusual center base pressure reading and what may be going on there. The important things to notice here are trends. Look what happens to the pressures on the window as spoiler angle increases:


This is good! I want to increase pressure on the window since this will both reduce drag and reduce lift.
 
And on the base:


This is bad! Decreased pressure on the base of the car means an increase in pressure drag, the drag which results from the imbalance of pressures over the car.
 
Another trend to notice is the effect of the fins on the spoiler. They turn out to make little to no difference; when they do change spoiler behavior, they reduce pressure—which is not what I want. So I won’t bother building permanent fins right now since I’ve measured their effect and found that they don’t do what I want. I may experiment more with fins in the future to see if they affect the stability of the car, but until I do there’s no reason to go ahead with any sort of build right now without more testing.
 
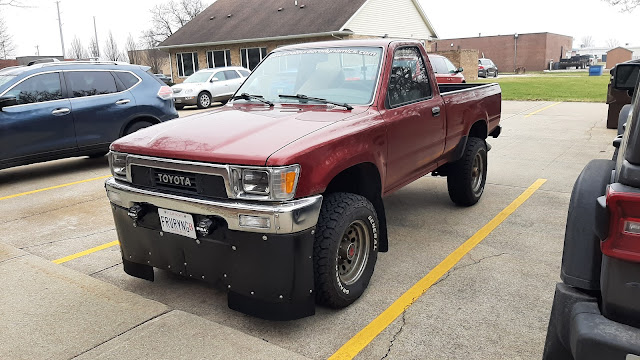
This is a good example of a major benefit of testing: as I found with some modifications on my truck, when testing reveals that a change doesn’t work the way you wanted, it saves you time, money, resources, and effort. Don’t build something permanent and then try to figure out if it works (or worse, tell people it works when you don't know)! You will see this modeled on the internet all the time (usually with outlandish and completely untested claims) but it is exactly the opposite of what a rational person would and should do. Test, measure, refine, test again—then build. As far as this spoiler project, I’m nowhere near ready to build something permanent; more designing and testing is needed before I figure out if a new spoiler design or another lip spoiler or no spoiler at all will best accomplish my goals.

Comments

Popular Posts

How Spoilers Work

Tuft Testing: A How-To Manual

Optimizing Aerodynamics of a Truck: Part 5